How to Make Your Own Traditional Japanese Cat Mask at Home
Traditional Japanese Cat Masks
The Cultural Significance of Japanese Cat Masks
Traditional Japanese cat masks, known as Neko Men, hold a special place in Japan’s rich cultural history. These masks are often associated with festivals, theater performances, and folklore. The most famous cat figure in Japanese culture is the Maneki-neko, or “beckoning cat,” believed to bring good luck and fortune. However, cat masks also appear in traditional Noh and Kabuki theater, where performers use them to embody feline characters.
Creating a Japanese cat mask at home allows enthusiasts to connect with this cultural art form. Whether for cosplay, decoration, or a deeper appreciation of Japanese traditions, crafting a mask can be a rewarding experience. This guide will walk through the process step by step, ensuring even beginners can achieve impressive results.
Materials and Tools Needed
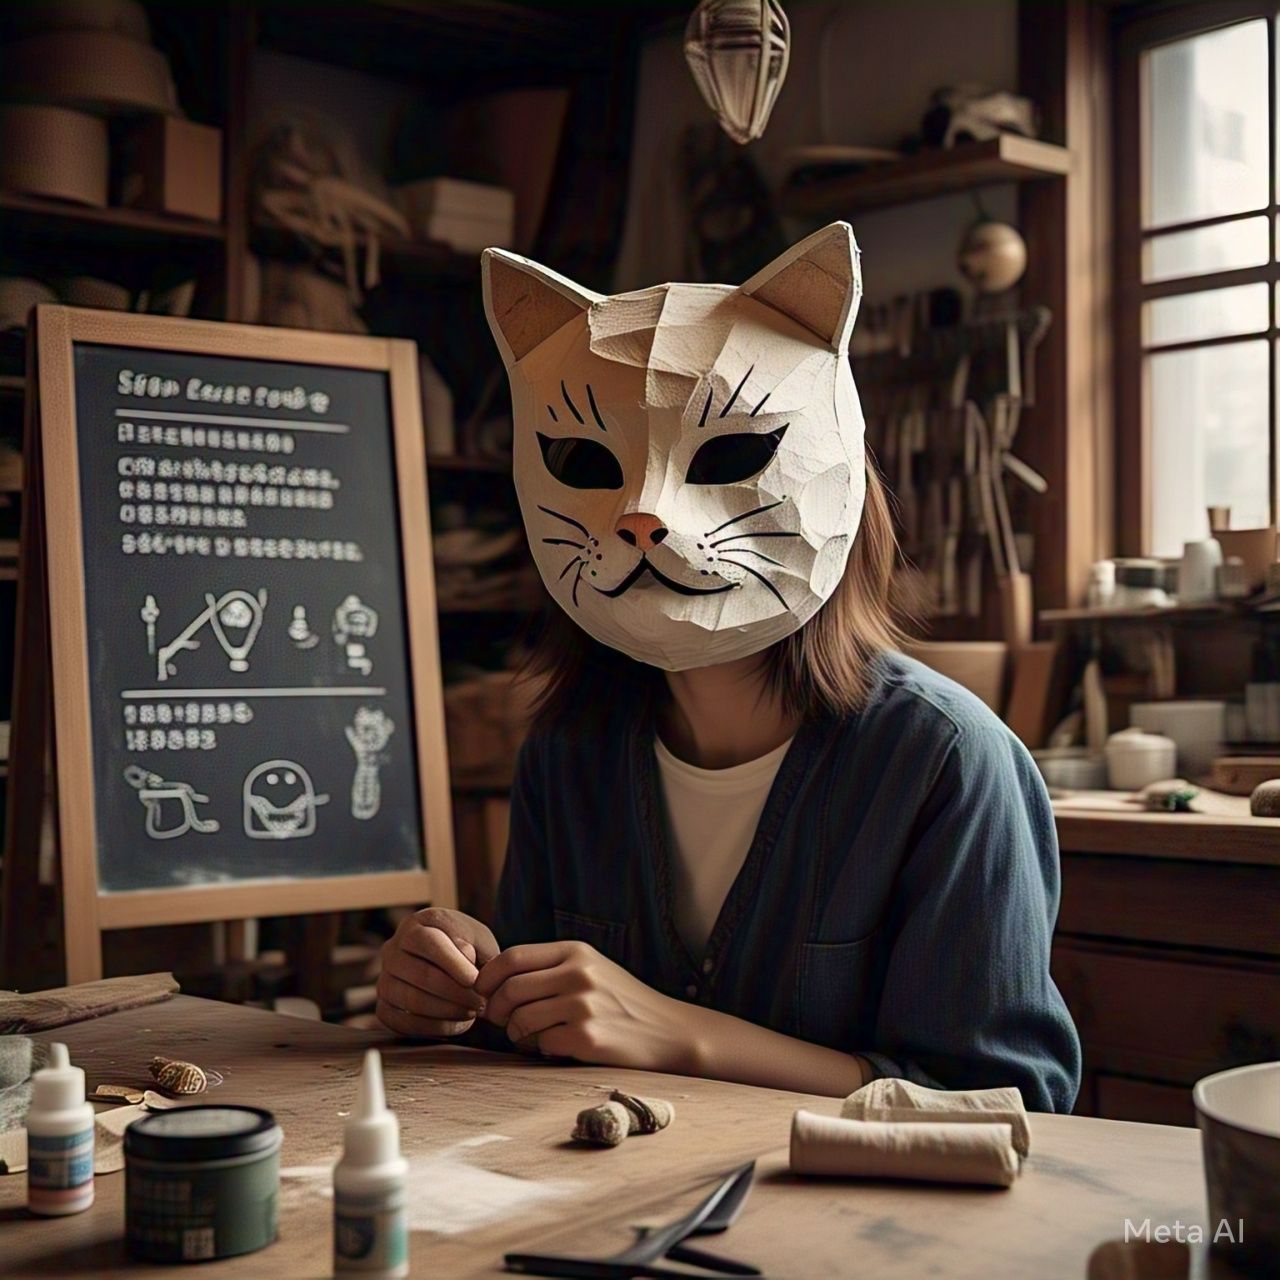
Before diving into the creation process, it is essential to gather the necessary materials. The basic items required include paper mache or clay for shaping the mask, acrylic paints for detailing, and elastic bands for wearing the mask. Additional tools such as scissors, glue, and brushes will also be needed. For those seeking a more authentic look, traditional Japanese patterns and color schemes should be studied beforehand.
Understanding the structure of a cat mask is crucial. Typically, these masks feature exaggerated feline characteristics—pointed ears, slanted eyes, and sometimes an open mouth with small fangs. The design can range from cute and cartoonish to fierce and theatrical, depending on personal preference.
Choosing the Right Design
Japanese cat masks come in various styles, each with its own symbolism. A Maneki-neko-inspired mask may feature a cheerful expression and bright colors, while a Noh theater mask might appear more solemn and refined. Researching different designs helps in deciding which aesthetic to pursue.
For beginners, starting with a simpler design is advisable. Intricate details can be added later as skills improve. Sketching the mask on paper before crafting provides a clear reference and minimizes mistakes during construction.
Preparing the Workspace
A clean, well-lit workspace is essential for crafting a mask. Since the process involves cutting, molding, and painting, having ample space prevents accidents and ensures precision. Covering the work surface with newspapers or a plastic sheet protects it from glue and paint stains.
Patience is key when making a traditional Japanese cat mask. Rushing the steps may lead to imperfections, so taking time to perfect each stage ensures a high-quality final product.
Shaping the Base of the Mask
Selecting the Base Material
The foundation of the mask can be made from different materials, each with its own advantages. Paper mache is lightweight and easy to shape, while clay offers more durability and detail. For a quick and simple approach, pre-made plastic masks can also serve as a base for decoration.
Paper mache is a popular choice due to its accessibility. Strips of newspaper soaked in a glue-water mixture are layered over a mold, such as a balloon or a face-shaped form. Once dry, the hardened structure can be cut and refined into the desired cat shape.
Building the Structure
When using paper mache, applying multiple layers ensures strength. At least three to four layers should be used, allowing each to dry completely before adding the next. After drying, excess material is trimmed to form the basic outline of the mask, including eye holes and the bridge for the nose.
For those using clay, the process involves molding the material directly into shape. Air-dry clay is user-friendly, as it does not require baking. The mask should be sculpted slightly larger than the face to allow comfortable wear. Smoothing the surface with water or a sculpting tool prevents cracks and rough edges.
Adding Feline Features
The defining traits of a cat mask are the ears and facial contours. Pointed ears can be shaped separately and attached using extra paper mache or clay. Ensuring they are symmetrical maintains a balanced appearance.
The eyes should be carefully carved or painted to reflect feline characteristics—almond-shaped and slightly slanted. Some designs include whisker marks or small fangs for added realism. Taking time to refine these features enhances the mask’s overall appeal.
Sanding and Smoothing
Before painting, the mask’s surface must be smooth. Sandpaper can be used to remove bumps and uneven areas, especially on clay masks. For paper mache, a layer of gesso or white paint helps seal the surface and provides a better base for colors.
This stage is crucial for achieving a professional finish. Any imperfections left unfixed will be more noticeable after painting, so thorough preparation is necessary.
Painting and Detailing the Mask
Choosing the Right Colors
Traditional Japanese cat masks often use bold, symbolic colors. White represents purity, red signifies energy, and gold is associated with prosperity. Researching traditional color meanings can guide the painting process for an authentic look.
Acrylic paints work best due to their vibrancy and quick drying time. A base coat should be applied first, followed by layering additional colors for shading and depth.
Applying the Base Coat
The entire mask should be painted with the primary color—usually white or another light shade. This serves as the foundation for further detailing. Multiple thin coats are better than one thick layer, as they prevent cracking and ensure even coverage.
Once the base is dry, secondary colors are added. For example, the inner ears may be pink, while the edges could be outlined in black for definition.
Adding Intricate Details
The eyes are the most expressive part of the mask. Using fine brushes, intricate patterns such as eyelashes, iris details, and eyebrow marks can be painted. Traditional Noh masks often feature delicate gold accents, which can be replicated with metallic paint.
Whiskers, if included, should be thin and symmetrical. A steady hand is required, so bracing the wrist on a stable surface helps maintain precision.
Sealing the Mask
To protect the paint and ensure longevity, a clear varnish or sealant should be applied. Matte finishes give a more traditional look, while glossy finishes add a dramatic effect. This step also makes the mask easier to clean if it gets dusty or stained.
Final Assembly and Wearing the Mask
Attaching the Straps
For the mask to be wearable, an elastic band or ribbon must be secured to the sides. Holes can be punched near the temples, and the band should be adjusted for a snug but comfortable fit. Alternatively, ribbons can be tied at the back for a more decorative touch.
Adding Final Embellishments
Optional decorations, such as faux fur trims, beads, or fabric accents, can enhance the mask’s appearance. These should be glued carefully to avoid damaging the paint.
Caring for the Mask
To preserve the mask, it should be stored in a dry place away from direct sunlight. Dust can be gently removed with a soft brush. If the mask gets wet, it should be dried immediately to prevent warping or mold.
Embracing Japanese Craftsmanship
Creating a traditional Japanese cat mask is not just an artistic project but also a way to engage with cultural traditions. By following these steps, anyone can craft a beautiful, personalized mask. Whether used for cosplay, decoration, or theatrical purposes, the finished piece reflects both creativity and respect for Japanese heritage.
Through patience and attention to detail, the process becomes as rewarding as the final product. Those who enjoy this project may explore other traditional mask-making techniques, further deepening their appreciation for Japan’s rich artistic legacy.