How to Make a Cozy Crochet Cat Pillow: A Beginner-Friendly Tutorial
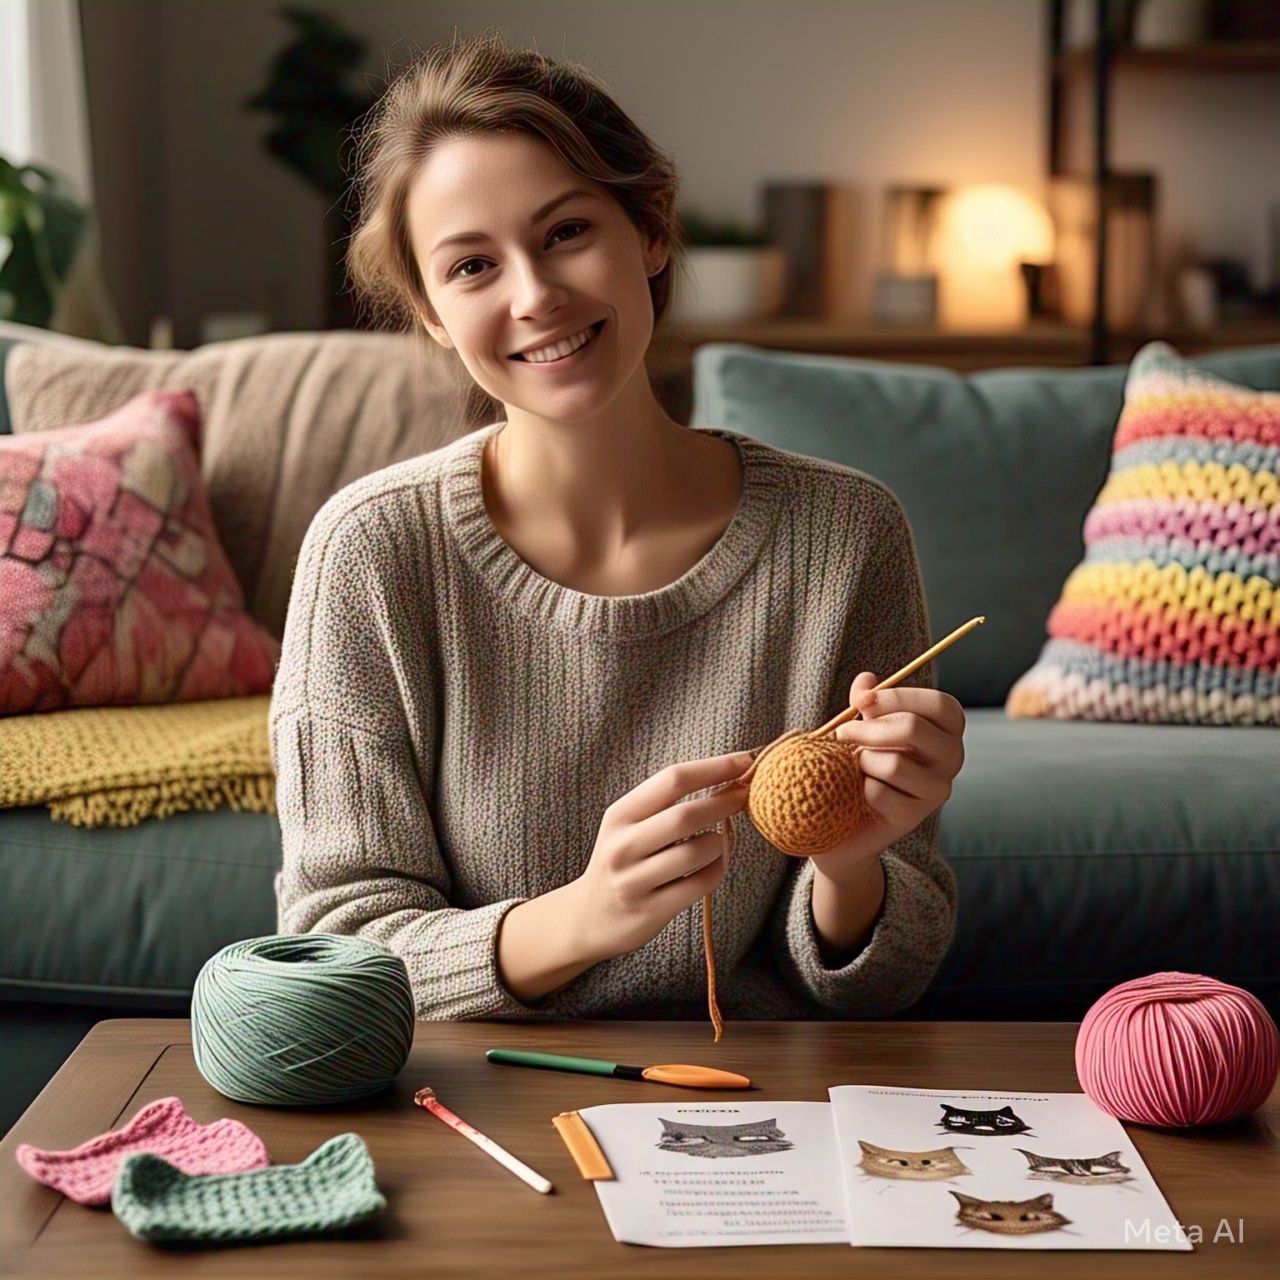
Crochet and Gathering Supplies
Crocheting is a relaxing and rewarding craft that allows beginners to create beautiful handmade items with just a hook and some yarn. One of the best starter projects is a cozy crochet cat pillow—a charming and functional piece that adds warmth to any room. This tutorial is designed for beginners, guiding them step by step through the process of making their very own crochet cat pillow.
Before diving into the project, it’s essential to gather all the necessary supplies. Having the right materials ensures a smooth and enjoyable crocheting experience.
Understanding the Basics of Crochet
Crochet is a method of creating fabric by interlocking loops of yarn with a crochet hook. Unlike knitting, which uses two needles, crochet requires only one hook, making it easier for beginners to manage. The basic stitches include the chain stitch, single crochet, double crochet, and slip stitch. Mastering these foundational stitches is key to completing the cat pillow project successfully.
Choosing the Right Yarn
Selecting the appropriate yarn is crucial for both the appearance and durability of the crochet cat pillow. Medium-weight (worsted) yarn is ideal for beginners because it is easy to work with and creates a sturdy fabric. Acrylic or cotton yarns are excellent choices—acrylic is soft and affordable, while cotton provides a firmer texture. For a cozy feel, a plush or chenille yarn can also be used, though it may be slightly more challenging for beginners due to its fluffy texture.
Selecting the Correct Crochet Hook
The size of the crochet hook should correspond to the yarn weight. Most worsted-weight yarns recommend a 5.0 mm (H-8) hook. However, checking the yarn label for the manufacturer’s suggested hook size is always a good practice. Using the wrong hook size can result in stitches that are too tight or too loose, affecting the pillow’s final shape and comfort.
Additional Supplies Needed
Aside from yarn and a hook, a few other supplies will be helpful. A pair of scissors is necessary for cutting yarn, and a yarn needle is essential for weaving in loose ends. For stuffing the pillow, polyester fiberfill is commonly used because it is soft, lightweight, and retains its shape well. A stitch marker can also be useful for keeping track of rounds, especially when working in a continuous spiral.
Preparing the Workspace
A comfortable and organized workspace makes the crocheting process more enjoyable. Good lighting is important to see stitches clearly, and a quiet space helps maintain focus. Keeping all supplies within reach prevents unnecessary interruptions. Beginners should also consider having a printed or digital copy of the pattern handy for easy reference.
By gathering the right materials and understanding the basics of crochet, beginners can confidently start their journey toward creating a cozy crochet cat pillow. The next section will cover the foundational stitches and how to begin the pillow’s base.
Learning Basic Stitches and Starting the Pillow
Now that all the supplies are ready, it’s time to learn the essential crochet stitches needed for the cat pillow. This section will guide beginners through the basic techniques and the first steps of constructing the pillow’s base.
Mastering the Foundation Chain
Every crochet project begins with a foundation chain, which serves as the starting row. To create a chain, the yarn is first looped into a slip knot and placed on the hook. The hook is then used to pull the yarn through the loop, forming a new chain stitch. Repeating this process creates a chain of the desired length. For the cat pillow, a foundation chain of about 30 stitches is a good starting point, though the exact number may vary depending on the desired pillow size.
Working the Single Crochet Stitch
The single crochet (sc) is one of the simplest and most commonly used stitches in crochet. After creating the foundation chain, the first row is worked by inserting the hook into the second chain from the hook, pulling up a loop, and then pulling the yarn through both loops on the hook. This creates a tight, dense fabric, perfect for a sturdy pillow. Continuing this stitch across the row forms the first line of single crochets.
Turning and Building Rows
Once the first row is complete, the work must be turned to start the next row. A turning chain, usually one chain stitch for single crochet, is made to bring the yarn to the correct height for the next row. The hook is then inserted into the first stitch of the previous row, and another single crochet is made. Repeating this process builds the fabric row by row. Consistency in tension is important to ensure even edges.
Creating the Pillow’s Rectangular Base
The cat pillow’s body is made in a rectangular shape before being seamed and stuffed. After completing several rows of single crochet, the piece should be measured to ensure it is the right size. A typical cat pillow may measure around 12 inches in width and 16 inches in length, but adjustments can be made for a larger or smaller pillow. Continuing until the rectangle is twice the desired pillow length allows for folding and sewing the edges together later.
Changing Colors for Decorative Details
To add decorative elements like stripes or facial features, changing yarn colors is necessary. When reaching the end of a row with the current color, the new color is joined by pulling it through the last loop of the final stitch. The yarn tails can be woven in later to secure them. This technique allows for creative customization, making each cat pillow unique.
With the basic stitches practiced and the pillow’s base underway, the next section will focus on shaping the pillow and adding the cat’s defining features.
Shaping the Pillow and Adding Cat Features
After establishing the rectangular base, the next step is to shape the pillow into a cat design. This involves sewing the edges, stuffing the pillow, and adding charming details like ears and a tail.
Sewing the Pillow Together
Once the rectangle is complete, it is folded in half with the right sides facing inward. Using a yarn needle and the same yarn, the side and bottom edges are sewn together with a whip stitch or slip stitch, leaving the top open for stuffing. Reinforcing the seams ensures durability, especially if the pillow will be used frequently.
Stuffing the Pillow Firmly
Polyester fiberfill is carefully inserted into the pillow through the open top. The stuffing should be distributed evenly to avoid lumps, but firm enough to give the pillow a plush shape. Overstuffing can strain the seams, while understuffing may make the pillow look flat. Once fully stuffed, the remaining opening is sewn shut securely.
Crocheting the Cat Ears
To create the ears, two small triangular pieces are crocheted separately. Starting with a magic ring or a small chain, a few rounds of increases form a triangle. These ears are then sewn onto the top corners of the pillow. For a floppy-eared look, the ears can be made longer, while pointed ears give a more playful appearance.
Adding a Tail and Whiskers
A simple crocheted chain or a stuffed tube makes a perfect tail. It is attached to one corner of the pillow for a cute, feline touch. For whiskers, embroidery floss or thin yarn can be stitched onto the front of the pillow in straight lines. Safety eyes or embroidered features can also be added to complete the cat’s face.
With the main structure and details in place, the final section will cover finishing touches and care instructions for the crochet cat pillow.
Finishing Touches and Care Instructions
The last steps involve refining the pillow’s appearance and ensuring it remains in good condition over time. Proper finishing techniques and maintenance will keep the crochet cat pillow looking its best.
Weaving in Loose Ends
Any remaining yarn tails from color changes or sewing should be woven into the stitches using a yarn needle. This prevents unraveling and gives the pillow a polished look. Trimming excess yarn carefully ensures no loose threads are visible.
Blocking for a Professional Finish
Blocking is a method of shaping the crocheted fabric by lightly dampening it and pinning it into the desired shape. While not always necessary for stuffed items, it can help even out stitches if the pillow appears uneven. Allowing it to dry completely before use is essential.
Personalizing with Embroidered Details
For those who want extra flair, embroidery can enhance the cat’s face. Simple stitches like satin stitch for the nose or French knots for eyes add dimension. Names or patterns can also be stitched onto the pillow for a custom touch.
Cleaning and Maintaining the Pillow
To preserve the pillow, spot cleaning with mild soap and water is recommended. Machine washing should be avoided unless the yarn specifically permits it, as it may cause shrinking or damage. Storing the pillow in a dry place prevents moisture-related issues.
Enjoying the Finished Creation
After all the hard work, the cozy crochet cat pillow is ready to be displayed or gifted. This beginner-friendly project not only builds crochet skills but also results in a delightful handmade item full of charm.