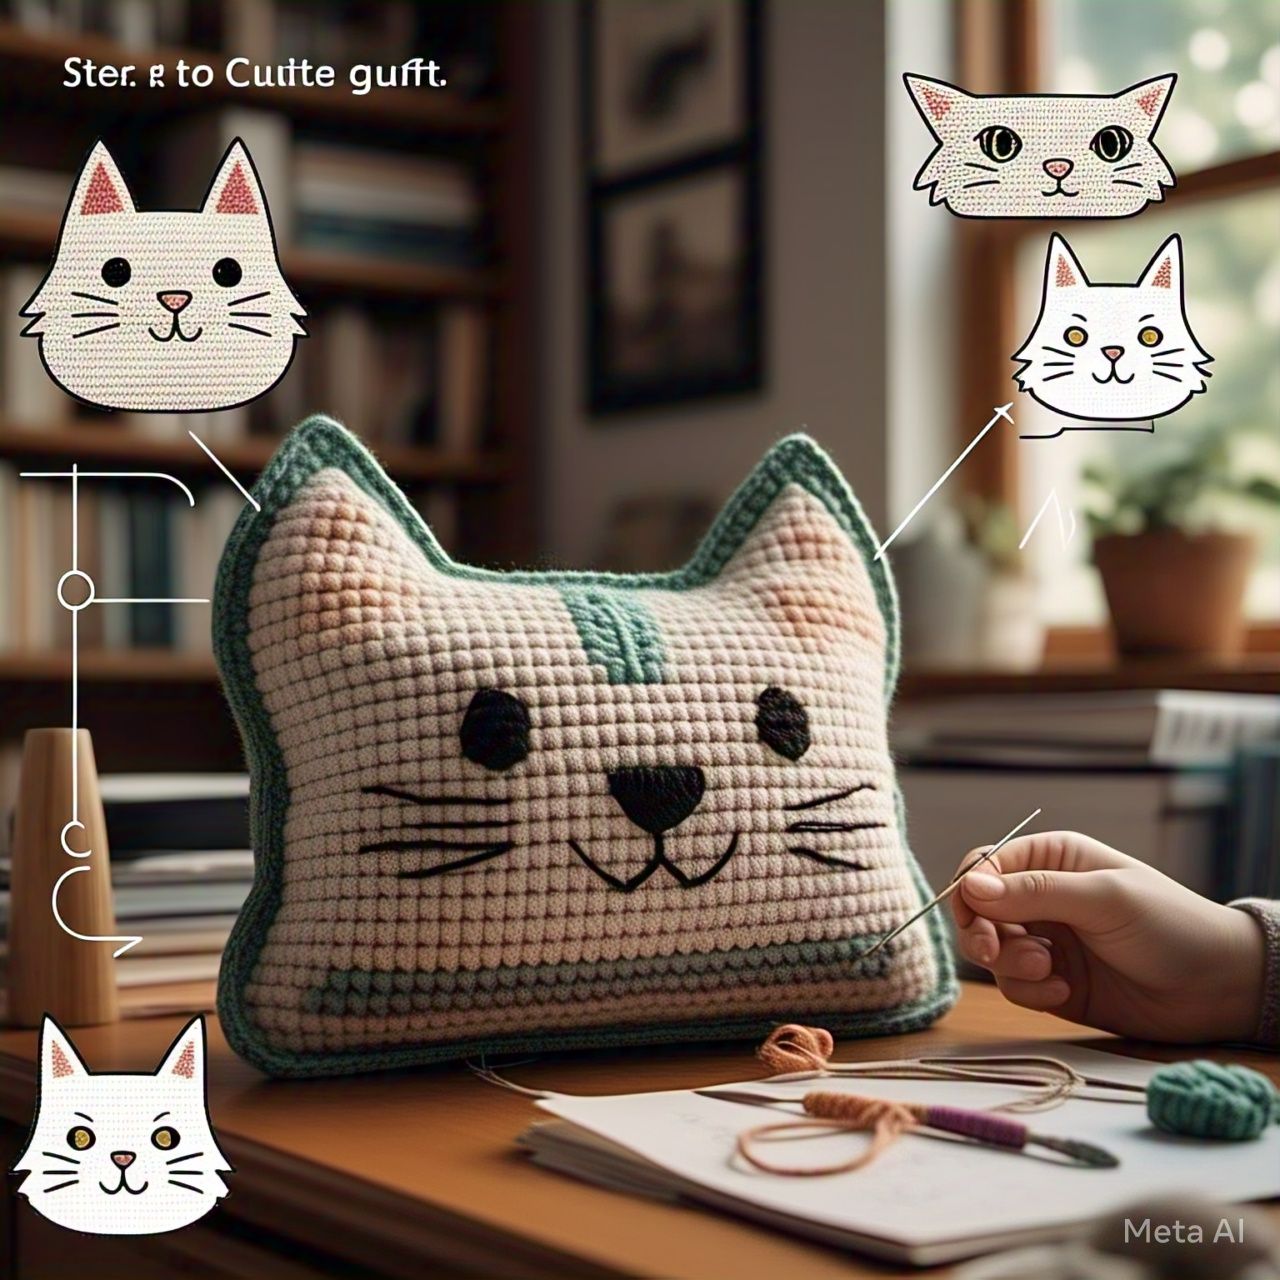
Step-by-Step: How to Embroider Cute Faces on Your Crochet Cat Pillow
Materials Needed
Why Embroider a Face on a Crochet Cat Pillow?
Adding an embroidered face to a crochet cat pillow brings personality and charm to the finished project. Whether the goal is to create a playful, sleepy, or realistic feline expression, embroidery enhances the overall appeal. This guide provides a detailed, step-by-step approach to embroidering adorable faces on crochet cat pillows, ensuring even beginners can achieve professional-looking results.
Essential Materials for Embroidering a Cat Face
Before starting, gather all necessary supplies. Having the right tools ensures a smooth and enjoyable embroidery process. The primary materials include an already crocheted cat pillow, embroidery floss in various colors, embroidery needles, scissors, and a stitch marker or water-soluble pen for tracing designs.
The crochet cat pillow should be fully assembled, stuffed, and ready for detailing. Using a tightly woven stitch helps prevent the stuffing from poking through the embroidery. Embroidery floss comes in a wide range of colors, allowing for creative freedom when designing the cat’s facial features. A needle with a sharp point works best for precise stitching on crochet fabric.
Choosing the Right Design
Selecting a face design depends on personal preference and skill level. Simple designs with basic shapes—such as oval eyes, a small triangle nose, and straight-line whiskers—are ideal for beginners. More advanced crafters may opt for intricate details like blended thread colors for shading or three-dimensional stitches for added texture.
Sketching the design lightly on the pillow with a water-soluble pen helps visualize placement before stitching. Alternatively, using a printed template placed underneath the fabric can guide the embroidery process. Taking time to plan the design ensures symmetry and balance in the final product.
Preparing the Crochet Pillow for Embroidery
Before threading the needle, position the pillow comfortably in hand or on a flat surface. Some crafters prefer using an embroidery hoop to keep the fabric taut, but this may not be necessary for thicker crochet projects. Ensuring the pillow is well-stuffed prevents the embroidery from puckering or distorting the shape.
Threading the embroidery floss properly is crucial. Separating the strands allows for varying thicknesses—using all six strands creates bold lines, while fewer strands result in delicate detailing. Knotting the end of the floss securely prevents unraveling during stitching.
With materials gathered and the design planned, the next step involves starting the embroidery process. The following sections will cover stitching techniques, troubleshooting common issues, and adding final touches for a polished look.
Basic Embroidery Stitches for Cat Faces
Understanding Basic Embroidery Stitches
Several embroidery stitches work well for creating facial features on crochet pillows. The most commonly used stitches include the backstitch, satin stitch, French knots, and straight stitches. Each serves a different purpose in forming the cat’s face.
The backstitch is ideal for outlining shapes like eyes and mouths. It creates a continuous, smooth line, making it perfect for defining edges. The satin stitch fills in areas such as the nose or inner ears, providing a solid, polished appearance. French knots add texture, often used for pupils or tiny freckles. Straight stitches are simple yet effective for whiskers and eyebrow details.
Embroidering the Eyes
The eyes are the most expressive part of the cat’s face. Begin by marking the desired eye shape with a water-soluble pen. For round eyes, small circular motions with a backstitch create a neat outline. If the design calls for almond-shaped eyes, longer, curved stitches achieve the desired effect.
Filling the eyes with color can be done using satin stitches. Choosing contrasting colors for the iris and pupil makes the eyes stand out. French knots in the center add depth, mimicking a realistic gaze. For a cartoonish look, large, exaggerated pupils with white highlights create a playful expression.
Stitching the Nose and Mouth
A cat’s nose is typically a small triangle or an upside-down heart shape. Using a satin stitch in pink or black fills the nose neatly. Outlining the edges with a backstitch ensures crisp lines. The mouth can be as simple as a straight stitch or a curved line for a smiling expression.
Adding tiny straight stitches extending outward creates whiskers. These should be evenly spaced and proportional to the face size. Longer whiskers give a more whimsical appearance, while shorter ones look subtle and natural.
Adding Final Facial Details
Additional details like eyebrows, cheek blush, or ear accents enhance the pillow’s character. Small straight stitches above the eyes suggest eyebrows, altering the cat’s expression from surprised to sleepy. Light pink stitches on the cheeks add a cute, rosy effect.
Once all facial features are complete, securing the threads properly prevents unraveling. Weaving the ends into nearby stitches or tying small knots on the backside keeps everything in place. The next section will cover troubleshooting common embroidery mistakes and refining the final look.
Troubleshooting and Refining the Embroidery
Fixing Uneven or Misplaced Stitches
Even experienced embroiderers encounter mistakes. If a stitch appears uneven, carefully removing it with a seam ripper and re-stitching corrects the error. For misplaced markings, a damp cloth can erase water-soluble pen lines, allowing for repositioning.
Preventing Thread Tangles and Knots
Thread tangles disrupt the embroidery flow. Using shorter lengths of floss reduces the chances of knots. Running the thread through beeswax or thread conditioner smooths the fibers, making stitching easier. If a knot forms, gently working it out with a needle prevents damage to the crochet fabric.
Enhancing Details with Advanced Techniques
For those seeking more realism, blending thread colors creates shading effects. Layering light and dark floss in the eyes or fur areas adds dimension. Adding small stitches around the face mimics fur texture, making the pillow look more lifelike.
Securing Loose Ends and Finishing Touches
After completing the embroidery, inspect for any loose threads. Weaving them back into the stitches ensures durability. Lightly steaming the finished piece removes wrinkles and sets the stitches in place.
Final Thoughts and Creative Variations
Exploring Different Cat Expressions
Experimenting with various facial expressions—such as sleepy, surprised, or grumpy—allows for customization. Changing the eyebrow angle or mouth shape dramatically alters the pillow’s personality.
Personalizing with Accessories
Adding bows, collars, or even miniature hats further customizes the pillow. These can be crocheted separately and stitched onto the finished piece.
Caring for Embroidered Crochet Pillows
Hand-washing in cold water preserves the embroidery. Avoiding harsh detergents and excessive wringing keeps the stitches intact.
Conclusion: Enjoying Your Handmade Creation
Embroidering a cute face on a crochet cat pillow is a rewarding process. With patience and creativity, anyone can transform a simple pillow into a charming decorative piece or a heartfelt gift. Following these steps ensures a polished, professional finish every time.