The White Cat Beanie Baby and Its Place in Collecting Culture
The world of Beanie Babies has captivated collectors for decades, with some plush toys fetching staggering prices at auctions. Among these, the White Cat Beanie Baby, known for its soft fur and charming design, often sparks curiosity. Many wonder if this feline friend holds significant value in 2025, a time when nostalgia fuels the collectibles market. This first part explores the origins of the White Cat Beanie Baby, its role in the 1990s craze, and why collectors still chase after it today. By understanding its history and cultural impact, one can better grasp whether this toy is a hidden gem or just a sentimental keepsake.
Origins of the White Cat Beanie Baby
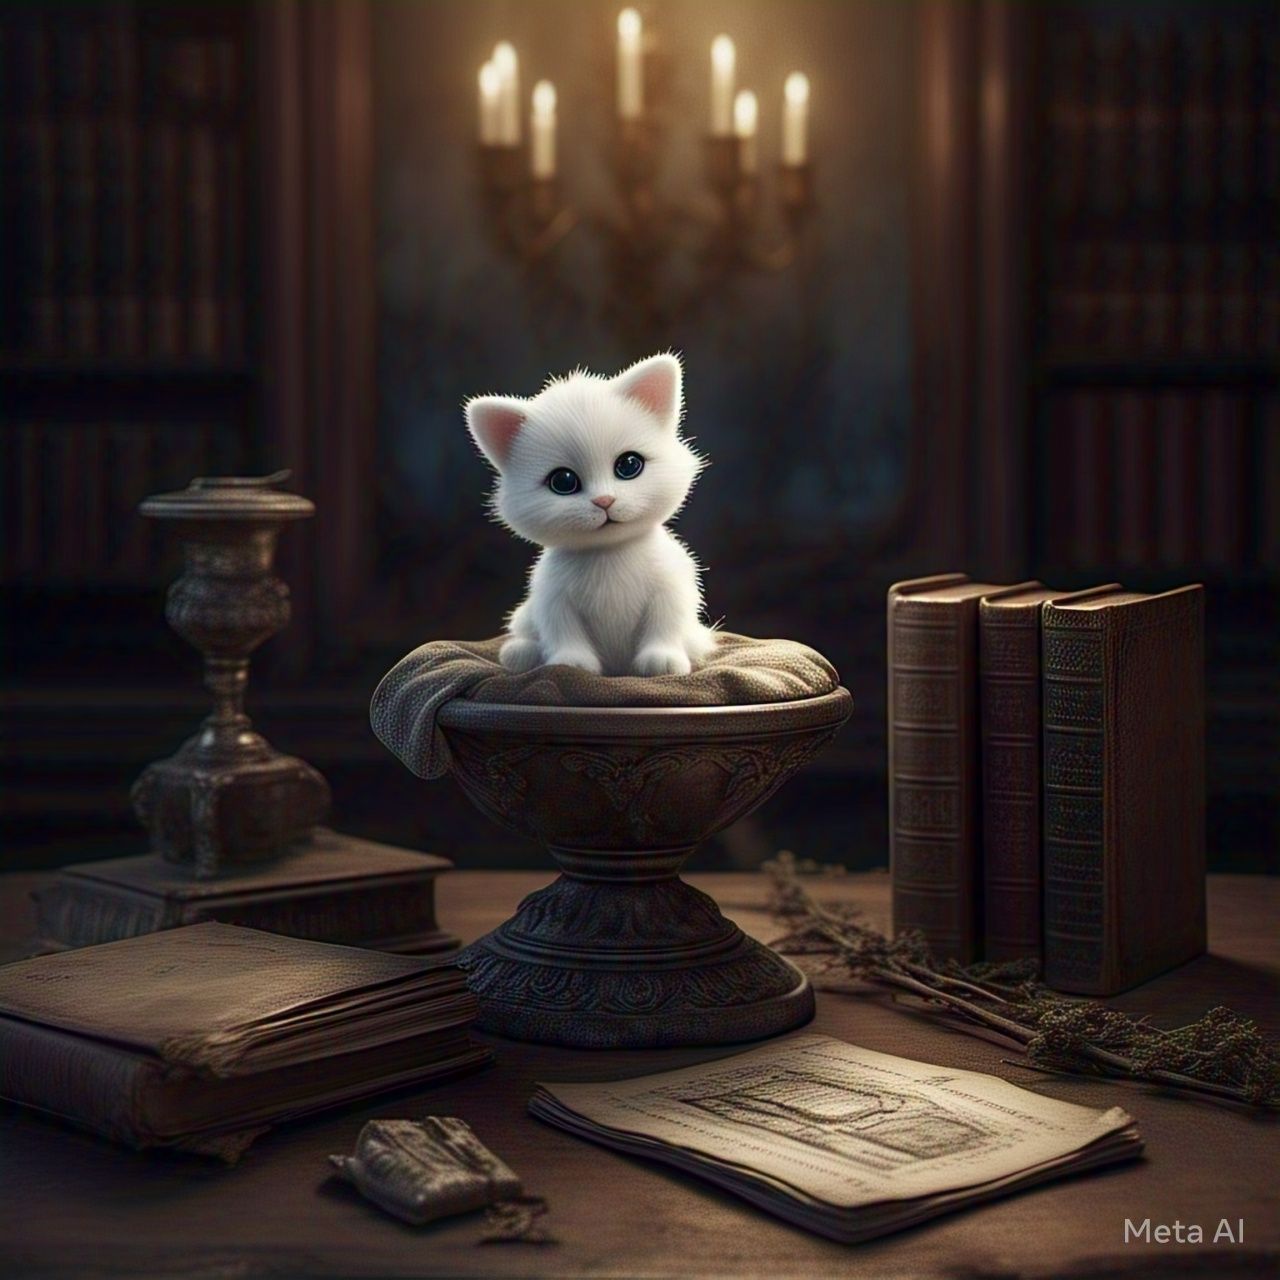
Ty Inc. introduced Beanie Babies in 1993, revolutionizing the toy industry with small, bean-filled plush animals that became instant hits. The White Cat, officially named “Blizzard,” debuted in 1996, joining a lineup of quirky characters. Blizzard, a fluffy white tiger with striking blue eyes and a pink nose, captured attention for its sleek design and playful appeal. Unlike common stuffed animals, Blizzard boasted a unique texture and a heart-shaped tag that told its story, making it irresistible to children and adults alike. Ty’s strategy of limited production runs fueled demand, as collectors scrambled to own every new release, including this feline star.
Blizzard’s launch came at the peak of Beanie Baby mania, a time when people saw these toys as future investments. Stores sold out quickly, and secondary markets emerged where rare Beanies traded hands for hundreds, sometimes thousands, of dollars. Blizzard, with its clean white fur symbolizing rarity, became a favorite among collectors hoping it would soar in value. Its initial retail price of around five dollars belied the frenzy it inspired, as fans speculated about which Beanies would become the next big thing. This tiger’s allure lay not just in its looks but in the promise of profit that defined the era.
Cultural Impact of Beanie Babies in the 1990s
During the late 1990s, Beanie Babies transformed from toys to cultural phenomena. Parents and children lined up at gift shops, hoping to snag the latest releases before they vanished. Blizzard, as part of this wave, rode the tide of excitement. Media outlets covered the craze, with stories of collectors spending fortunes on rare editions like the Princess Diana Bear. The White Cat, while not as hyped as some, held its own, appearing in collections alongside other animals like bears, dogs, and unicorns. Its popularity reflected a broader obsession with owning something exclusive in a world of mass production.
The internet, still in its infancy, played a key role in amplifying the Beanie Baby craze. Online forums and early e-commerce sites like eBay allowed collectors to trade and bid on Beanies, driving prices higher. Blizzard’s value fluctuated as collectors debated its rarity. Some believed its white fur and limited release made it special, while others saw it as just another cat in Ty’s vast catalog. This mix of hope and speculation defined the market, where emotions often outweighed logic. People collected not just for fun but for the dream of striking it rich, a mindset that shaped Blizzard’s early legacy.
Why Collectors Still Care About Blizzard
In 2025, nostalgia drives much of the collectibles market, and Beanie Babies remain a symbol of 1990s childhoods. Blizzard, with its sleek design, evokes memories of simpler times when trading toys with friends was a daily ritual. Collectors today, many in their 30s and 40s, seek out Beanies to recapture that joy or to complete sets started decades ago. The White Cat’s appeal endures because it represents a piece of history, a tangible link to a cultural moment when plush toys ruled.
Beyond sentiment, the question of value keeps Blizzard relevant. Some Beanie Babies, like those with rare tags or errors, sell for thousands, fueling hopes that Blizzard might be a sleeper hit. Collectors scour attics and storage units, wondering if their White Cat could fund a vacation or a car payment. Online marketplaces buzz with listings, though prices vary widely, from a few dollars to hundreds for pristine examples. The challenge lies in separating hype from reality, as misinformation about Beanie values persists. Blizzard’s worth depends on specific factors like condition and authenticity, which this part begins to unpack.
Factors Influencing Beanie Baby Value
Not all Beanie Babies are created equal, and Blizzard’s value hinges on details that collectors scrutinize. Condition is paramount—mint examples with untouched tags fetch more than well-loved ones. Blizzard’s white fur, prone to stains, makes pristine versions harder to find, potentially boosting its worth. Authenticity also matters, as counterfeits flooded the market during the craze. True Blizzard Beanies have specific tag designs and pellet types, which experts verify to ensure legitimacy.
Rarity, often misunderstood, plays a role too. While Blizzard wasn’t mass-produced like some Beanies, it wasn’t as limited as top-tier rarities. Its generation tags—early ones from 1996 are more sought-after—add another layer. Collectors also look for errors, like misprinted tags, though these are less common with Blizzard. Market trends shift constantly, influenced by nostalgia cycles and media revivals, like documentaries about the Beanie craze. These elements set the stage for evaluating whether Blizzard holds big money in 2025, a topic explored further in later parts.
A Toy Worth Investigating
The White Cat Beanie Baby, Blizzard, emerged as a beloved figure in the 1990s, riding the wave of a collecting frenzy that gripped the world. Its sleek design and cultural significance make it a standout, even among hundreds of other Beanies. While its value in 2025 remains uncertain, the factors of condition, authenticity, and market trends offer clues. Collectors drawn to Blizzard’s charm must weigh nostalgia against hard evidence, as not every Beanie fulfills dreams of wealth. This introduction lays the groundwork for a deeper dive into Blizzard’s worth, promising insights for anyone wondering if their White Cat is a treasure waiting to shine.
Evaluating the Market for the White Cat Beanie Baby in 2025
The White Cat Beanie Baby, Blizzard, continues to intrigue collectors hoping for a big payday in 2025. As the collectibles market evolves, driven by nostalgia and online trading, many wonder if this plush tiger holds significant value. This second part examines the current market for Blizzard, exploring sales trends, collector behavior, and the economic factors shaping its worth. By analyzing real-world data and market dynamics, one gains a clearer picture of whether Blizzard is a financial gem or simply a cherished memento.
Current Sales Trends for Blizzard
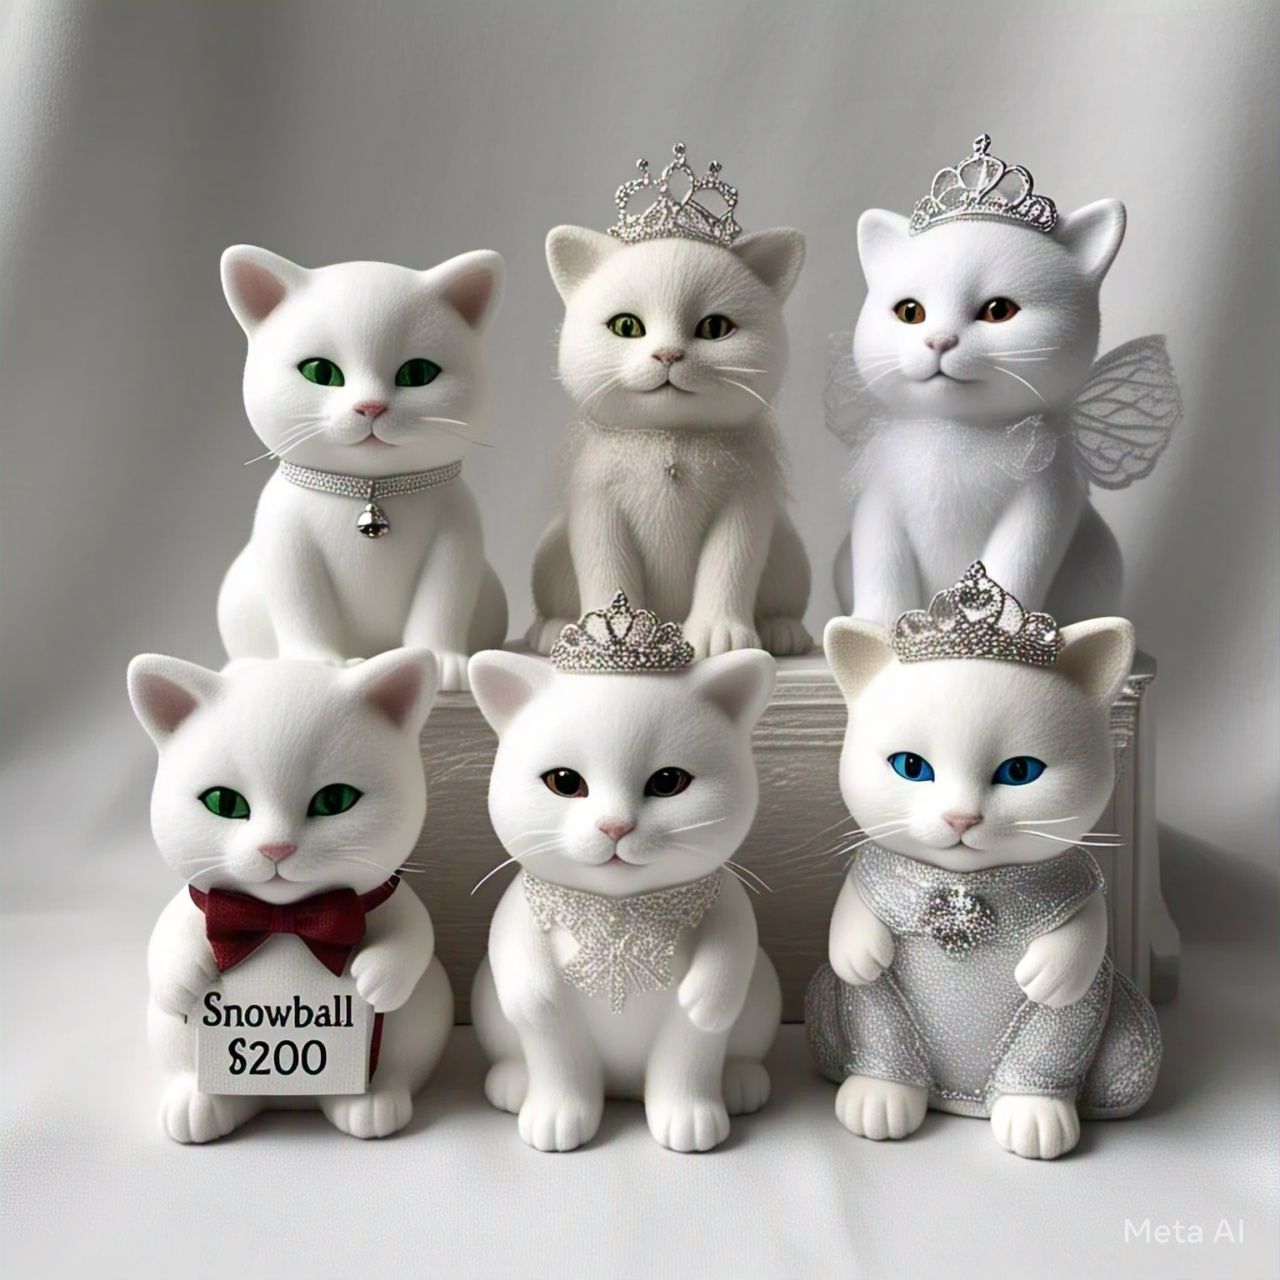
In 2025, the Beanie Baby market remains active, though far from the fever pitch of the 1990s. Online platforms like eBay and Etsy host numerous Blizzard listings, with prices ranging from modest to ambitious. Most White Cats sell for between ten and fifty dollars, depending on condition. Pristine examples, with original tags intact and no signs of wear, occasionally fetch upwards of one hundred dollars, but these are outliers. Unlike rare Beanies that command thousands, Blizzard’s sales data suggests steady but not spectacular demand.
Recent auctions provide insight into its market position. A Blizzard with a first-generation tag sold for ninety dollars in early 2025, while a slightly worn version went for fifteen. These figures reflect a market where condition drives price, but hype is limited. Collectors seem to value Blizzard for its nostalgic appeal rather than as a blockbuster investment. Social media groups dedicated to Beanie trading echo this, with members sharing photos of their White Cats but rarely reporting high-value sales. The numbers tell a story of modest worth, tempered by the realities of supply and demand.
Collector Behavior and Demand
Collectors in 2025 approach Beanie Babies with a mix of passion and pragmatism. Many are millennials revisiting childhood favorites, seeking Blizzard to complete collections or relive memories. These buyers prioritize emotional connection over profit, often paying modest sums for clean examples. Meanwhile, serious investors focus on ultra-rare Beanies, sidelining Blizzard unless it boasts unique traits, like a tag error. This split in collector types shapes the White Cat’s market, keeping demand stable but not explosive.
Online communities play a significant role in driving interest. Forums and Reddit threads buzz with discussions about Blizzard’s design, with fans praising its blue eyes and soft fur. Some collectors speculate about its potential to rise in value, citing its 1996 release as a point of rarity. Yet, most acknowledge that Blizzard lacks the scarcity of top-tier Beanies, tempering expectations. Trade events and conventions also see Blizzard changing hands, often bundled with other cats or tigers, suggesting it’s a desirable but not coveted piece.
Economic Factors Affecting Value
The broader economy influences collectibles like Blizzard in 2025. Inflation, while cooling from recent peaks, affects disposable income, making buyers cautious about splurging on non-essential items. Collectibles often thrive in prosperous times, but economic uncertainty can dampen enthusiasm. Blizzard’s modest price point makes it accessible, appealing to casual collectors who might shy away from pricier rarities. Still, the market for mid-tier Beanies feels the pinch when budgets tighten.
Global trade and shipping costs also impact Blizzard’s value. Many collectors buy internationally, and rising logistics expenses can deter cross-border deals. Since Blizzard isn’t a high-dollar item, sellers may struggle to justify shipping fees, limiting its reach. Conversely, nostalgia-driven media, like 1990s-themed shows or articles, can spark temporary spikes in interest. A recent documentary on the Beanie craze boosted searches for Blizzard, though the effect on prices was minimal. These external forces create a complex backdrop for assessing the White Cat’s worth.
Comparing Blizzard to Other Beanie Babies
To gauge Blizzard’s value, one must compare it to other Beanie Babies. Top earners, like the royal blue Peanut the Elephant, sell for thousands due to extreme rarity. Blizzard, while not common, was produced in larger numbers, placing it in a middle tier. Cats like Nip and Pounce, from earlier generations, sometimes outshine Blizzard in auctions, especially if they have errors. Bears, often the stars of the Beanie world, dominate high-end sales, leaving felines like Blizzard as secondary players.
Yet, Blizzard holds advantages over some peers. Its white fur and tiger design stand out in a sea of bears and dogs, attracting collectors who favor unique animals. Compared to mass-produced Beanies from the 2000s, Blizzard’s 1996 origins give it a slight edge in perceived rarity. Still, without standout features like misprints or limited editions, it struggles to compete with the elite. This comparison highlights why Blizzard’s value remains grounded, appealing to enthusiasts but not investors chasing windfalls.
A Stable but Modest Market
The White Cat Beanie Baby, Blizzard, occupies a solid but unremarkable spot in the 2025 collectibles market. Sales trends show consistent interest, with prices reflecting condition and nostalgia rather than rarity. Collectors value its charm, but economic realities and competition from scarcer Beanies cap its potential. While not a ticket to riches, Blizzard offers joy to those who cherish its history. This part reveals a market driven by sentiment, setting the stage for a deeper look at what makes a Beanie truly valuable in the next section.
What Makes a Beanie Baby Valuable and Where Blizzard Fits
Determining the value of the White Cat Beanie Baby, Blizzard, requires understanding what makes any Beanie Baby valuable. In 2025, collectors still hunt for these plush toys, hoping to uncover a jackpot. This third part dives into the key factors—rarity, condition, and market perception—that drive Beanie Baby prices, and evaluates how Blizzard measures up. By exploring these elements, one can see why some Beanies soar while others, like Blizzard, may not reach the same heights.
Rarity and Its Role in Value
Rarity often defines a collectible’s worth, and Beanie Babies are no exception. The rarest Beanies, like first-generation bears or those with production errors, command top dollar because so few exist. Ty Inc.’s strategy of retiring designs created artificial scarcity, convincing collectors that certain toys would vanish forever. In reality, many Beanies, including Blizzard, were produced in large enough numbers to remain accessible. Blizzard, released in 1996, isn’t considered ultra-rare, as Ty distributed it widely during the craze.
Still, rarity isn’t just about total production. Subtle variations, like tag generations or pellet types, can elevate a Beanie’s status. Blizzard’s early versions, with PVC pellets and first-generation tags, are scarcer than later ones with PE pellets. These nuances matter to collectors who prize originality. However, Blizzard lacks the extreme scarcity of Beanies like the royal blue Peanut, which saw limited runs before a color change. Without a standout rarity factor, Blizzard’s value leans on other qualities, like its condition and appeal.
Condition as a Price Driver
A Beanie Baby’s condition can make or break its value, and Blizzard’s white fur makes this especially critical. Collectors seek mint examples—those never played with, stored carefully, with tags intact. Blizzard’s snowy coat shows dirt easily, so a pristine version is a find. Tags, both the heart-shaped swing tag and the tush tag on its bottom, must be crisp, without creases or fading. A Blizzard with a bent tag or stained fur might sell for a few dollars, while a flawless one could reach fifty or more.
Storage history matters too. Beanies kept in airtight containers fare better than those left in damp basements. Blizzard’s blue eyes and pink nose, prone to wear, need to look factory-fresh for top value. Serious collectors often use protective cases for tags, a practice that preserves Blizzard’s worth. While condition alone can’t make a common Beanie rare, it amplifies the price of desirable ones. For Blizzard, maintaining that just-made look is essential to standing out in a crowded market.
Market Perception and Hype
Collector perception shapes Beanie Baby values as much as tangible traits. In the 1990s, hype drove prices skyward, with rumors of million-dollar Beanies spreading like wildfire. Today, perception is more grounded, but myths persist. Blizzard benefits from its striking design—white tigers evoke rarity and elegance, even if the toy itself isn’t scarce. Online listings sometimes inflate its worth, with sellers asking hundreds for “rare” Blizzards, though most sell for far less.
Media and pop culture influence perception too. Revivals of 1990s nostalgia, through movies or social media trends, can spotlight Beanie Babies, including Blizzard. A viral post about a high-value sale might spark interest, though Blizzard rarely stars in such stories. Instead, it rides the coattails of bigger names, like the Princess Diana Bear, which keeps the Beanie market alive. Collectors’ emotional attachment also plays a role—Blizzard’s cute face tugs at heartstrings, encouraging purchases even when profits are unlikely.
Blizzard’s Place Among Beanie Babies
Blizzard’s value becomes clearer when viewed alongside other Beanie Babies. Elite Beanies, like those with tag errors or limited releases, dominate auctions, often selling for thousands. Blizzard, while charming, lacks these unique markers. Its 1996 release puts it in a desirable early wave, but production numbers keep it from the top tier. Compared to other cats, like the pricier Nip with its first-generation tags, Blizzard is a mid-range contender.
Yet, Blizzard isn’t worthless. Its tiger design and nostalgic pull give it an edge over later, mass-produced Beanies. Collectors who focus on animal themes often seek Blizzard to round out sets, valuing its aesthetic over investment potential. Unlike generic bears or dogs, Blizzard’s distinct look—white fur, blue eyes—makes it memorable. Still, without a rare error or ultra-low production, it remains a beloved but not blockbuster collectible, appealing to enthusiasts rather than speculators.
Blizzard’s Value in Context
The White Cat Beanie Baby, Blizzard, holds a respectable but not extraordinary place in the 2025 market. Rarity, condition, and perception drive Beanie values, but Blizzard excels mainly in charm and nostalgia. Its white fur and early release add appeal, yet it lacks the scarcity or quirks that propel top Beanies to fame. For collectors, Blizzard offers joy and modest worth, not a fortune. This part clarifies why some Beanies shine brighter, preparing readers for a final look at maximizing Blizzard’s potential in the next section.
Maximizing the Value of Your White Cat Beanie Baby in 2025
Owning a White Cat Beanie Baby like Blizzard sparks dreams of profit, but unlocking its value in 2025 requires strategy. Collectors must navigate a market shaped by nostalgia, condition, and savvy selling. This final part explores how to assess, preserve, and sell Blizzard to maximize its worth. By offering practical steps and insights, it helps collectors decide whether to cash in or keep their feline friend as a cherished keepsake.
Assessing Blizzard’s Condition and Authenticity
Before selling Blizzard, one must evaluate its condition with care. A mint Beanie Baby, untouched by time, fetches the highest price. Blizzard’s white fur demands scrutiny—any stains, even faint ones, lower its value. The swing tag, heart-shaped and hanging from its ear, should be flat, with clear text and no creases. The tush tag, sewn near its tail, needs to be legible, showing details like the 1996 copyright. Collectors often overlook minor wear, like slightly matted fur, but buyers notice, so honesty about condition is key.
Authenticity is equally vital, as fakes plague the Beanie market. Genuine Blizzards have specific traits: PVC pellets in early versions, a pink nose, and blue eyes with no discoloration. Checking the tag’s design—early ones lack a star, later ones include it—confirms legitimacy. If unsure, consulting an expert or authentication service prevents costly mistakes. A verified Blizzard, even if not rare, holds more value than a questionable one, giving sellers confidence and buyers trust.
Preserving Blizzard for Maximum Value
Proper storage protects Blizzard’s worth over time. Collectors should keep it in a cool, dry place, away from sunlight that fades fur and tags. Plastic containers with tight lids shield it from dust and moisture, which can yellow white fur. For tags, clear protectors prevent bending or tearing, a small investment that pays off. Handling should be minimal—oils from fingers can mark Blizzard’s coat, so clean hands or gloves are wise when inspecting.
Cleaning, if needed, requires caution. A soft, dry cloth can gently remove dust, but water or soap risks damage. For stubborn spots, a professional cleaner familiar with plush toys ensures safety. Collectors who plan to hold Blizzard long-term should check it yearly for signs of wear, like loose stitching, addressing issues early. These steps preserve Blizzard’s mint status, making it more appealing to buyers who pay premiums for perfection.
Selling Strategies for Blizzard
When ready to sell, choosing the right platform matters. eBay remains a go-to for Beanie Babies, offering global reach. Sellers should write detailed descriptions, noting Blizzard’s condition, tag generation, and pellet type, with clear photos showing all angles. Starting bids around twenty dollars attract attention, while setting a reserve ensures a minimum return. Etsy suits buyers seeking nostalgic items, though fees are higher. Social media marketplaces, like Facebook groups, connect sellers with collectors, but scams require caution.
Timing influences success. Nostalgia peaks during holidays or after media coverage of Beanie Babies, boosting demand. Listing Blizzard in late fall, when gift-buying surges, can draw more bids. Sellers should research recent sales—Blizzards typically fetch ten to fifty dollars, with mint ones hitting one hundred in rare cases. Pricing too high deters buyers, but undervaluing risks loss. Patience is key; waiting for the right buyer often yields a better price than rushing.
Alternatives to Selling
Not every collector wants to sell, and Blizzard’s value isn’t just monetary. Displaying it in a collection, perhaps with other Beanie cats, brings joy and sparks conversation. Trading with other enthusiasts can expand a collection without cash, especially if Blizzard’s condition impresses. Donating it to a charity auction supports a cause while sharing nostalgia, though tax benefits depend on appraisal. For those unsure about selling, holding Blizzard as a keepsake preserves its emotional worth, with the option to sell later if values rise.
Some collectors explore creative uses, like gifting Blizzard to a younger relative to pass on the Beanie legacy. Others incorporate it into decor, placing it in a glass case for protection. These choices reflect Blizzard’s role beyond profit—as a symbol of a bygone era. While selling offers immediate gain, keeping Blizzard can satisfy the heart, especially for those who see it as more than a commodity.
Balancing Profit and Sentiment
The White Cat Beanie Baby, Blizzard, holds modest financial potential in 2025, with careful assessment and preservation unlocking its best value. Selling requires strategy, from choosing platforms to timing the market, but alternatives like trading or keeping it offer their own rewards. Collectors must weigh profit against nostalgia, deciding if Blizzard’s worth lies in a paycheck or a memory. This final part empowers owners to make informed choices, closing the journey with clarity on whether their White Cat is a treasure to sell or savor.