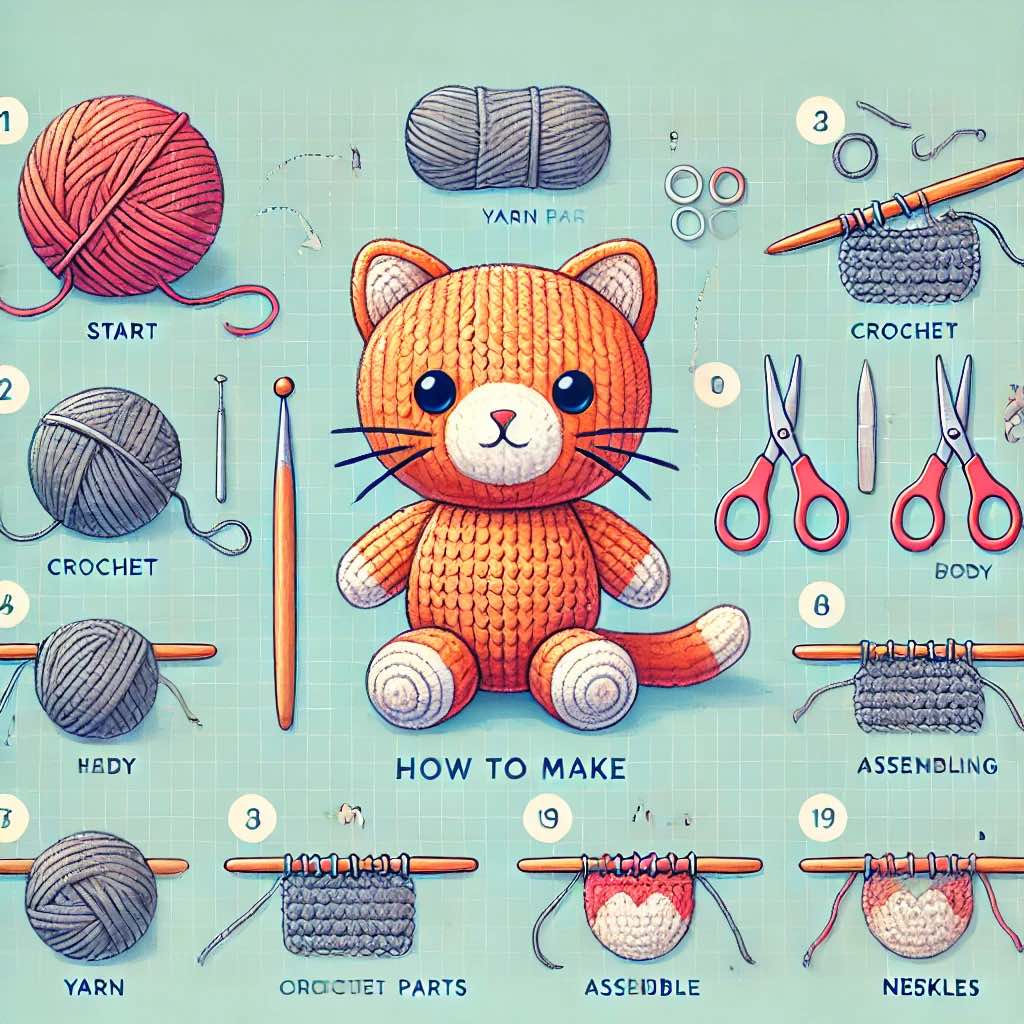
Step-by-Step Tutorial: How to Make an Amigurumi Cat
Getting Started with Amigurumi
When embarking on an amigurumi project, the first step is understanding what it involves and gathering the necessary materials. Amigurumi is the Japanese art of knitting or crocheting small, stuffed yarn creatures. In this case, the goal is to create a cat—one of the most popular creatures in the amigurumi world. The key to making a successful amigurumi cat lies in mastering the basic crochet techniques, selecting the right yarn and tools, and following the tutorial step-by-step.
Choosing the Right Yarn for the Amigurumi Cat
Before starting, the selection of yarn is critical. Amigurumi projects typically use a specific type of yarn that is both lightweight and durable. For an amigurumi cat, the ideal yarn is medium-weight, often referred to as worsted weight. This type of yarn is thick enough to provide structure to the cat but not too bulky, allowing for intricate stitching that will create a delicate, lifelike look. Many crocheters prefer yarns made from cotton or acrylic blends because they are soft, easy to handle, and easy to wash.
Selecting the right color for the cat is equally important. Classic cat colors include orange, gray, black, and white, but crafters can get creative by using unconventional colors like pastel shades or multicolored yarn. The choice of yarn color should match the vision of the cat being created, whether it’s a tabby, a tuxedo cat, or a playful kitten.
Essential Crochet Tools for Amigurumi
Crocheting an amigurumi cat requires only a few basic tools. First and foremost is a crochet hook, which is used to manipulate the yarn and create stitches. The size of the hook will depend on the thickness of the yarn chosen. For most worsted weight yarns, a 3.5mm to 4mm hook is ideal.
In addition to the crochet hook, a yarn needle is essential for sewing the pieces together. A yarn needle, or tapestry needle, has a large eye that allows it to easily thread through the yarn. This tool is necessary for stitching the limbs, ears, and tail onto the body of the cat.
Lastly, a pair of scissors is required for trimming the yarn once the project is complete. A stitch marker is also handy for keeping track of the rounds when working in the round, which is essential for creating the smooth, continuous shape of the amigurumi cat.
Understanding Basic Crochet Stitches
Before diving into the actual creation of the amigurumi cat, it’s important to become familiar with the basic crochet stitches used in amigurumi projects. The single crochet stitch is the most fundamental stitch in amigurumi and will be used throughout the process. This stitch is compact, which helps create the tight, solid fabric necessary for making stuffed toys.
The slip stitch is another essential technique, often used to join rounds or close off the end of a project. Understanding how to increase and decrease stitches is also crucial for shaping the different parts of the amigurumi cat. By learning how to manipulate these basic stitches, any crocheter can create a perfectly shaped amigurumi cat.
Crocheting the Body and Head
Once the necessary tools and materials are gathered, the next step is to start crocheting the body and head of the amigurumi cat. The body and head are typically crocheted as one continuous piece, which helps avoid bulky seams that could detract from the final product.
Starting the Body of the Cat
To begin the body of the cat, the process starts with making a magic ring. This technique creates a small, adjustable loop, which will form the foundation of the amigurumi. By working the first round of single crochet stitches into the magic ring, the crocheter will form a tight circle, which will serve as the base of the body.
The key to making a smooth, rounded body is working in continuous spirals without turning the work at the end of each round. This technique eliminates the seam that would otherwise be created when turning the work at the end of each round. Stitch markers can be used to keep track of the beginning of each round, ensuring the crocheter stays on track.
As the body progresses, the crocheter will gradually increase the number of stitches per round to create a gentle taper. This method ensures that the body has the right proportions and shape. The body should widen gradually, forming the round, plump torso of the cat. To achieve a realistic look, it’s important to maintain consistency in tension, as uneven stitches could cause the body to distort.
Adding the Cat’s Head
When the body reaches the desired size, it’s time to start forming the cat’s head. The head is created in the same manner as the body, using a continuous spiral and increasing stitches as needed. However, it’s important to shape the head slightly by reducing the number of stitches in some rounds. This will form the feline facial structure, giving the head a rounded, slightly pointed appearance.
To ensure the head is properly proportioned to the body, the crocheter should aim for a round shape that isn’t too large or too small. Many crochet patterns recommend making the head slightly smaller than the body to maintain the aesthetic balance of the amigurumi cat.
Stuffing the Body and Head
As the body and head are crocheted, the next step is to begin stuffing them with fiberfill. Fiberfill is a soft, synthetic material used to stuff stuffed animals and amigurumi projects. It helps give the cat its shape and makes it look full and plush.
Stuffing should be done gradually to avoid overfilling, which could result in a firm, lumpy texture. Instead, small amounts of fiberfill should be inserted into the body and head at each round to ensure an even and soft fill. The goal is to create a plump, firm body without making it too stiff.
Crafting the Limbs, Tail, and Ears
The limbs, tail, and ears are the distinguishing features that give the amigurumi cat its personality. These parts are typically crocheted separately and then sewn onto the body later. The process of crocheting each part involves basic techniques such as increasing and decreasing stitches, as well as carefully shaping the pieces to give them the right form.
Creating the Cat’s Limbs
The limbs are one of the most important features of the amigurumi cat, as they determine its overall posture. The legs and arms are usually created by crocheting small cylindrical tubes, starting from the base and working upward. Similar to the body, the legs should gradually increase in size, but the arms typically remain smaller in proportion.
Crocheters should aim for smooth transitions in the limbs, with no visible seams or irregularities. To create the feet, the crocheter can shape the bottom of the legs by adding a few rounds of stitches before finishing off the limb. The limbs should be firm enough to stand on their own, but still flexible for posing and movement.
Crocheting the Tail
The tail of the amigurumi cat is typically longer and more slender than the limbs. To crochet the tail, the technique of working in spirals is again used to create a continuous shape. The tail should taper slightly toward the tip, mimicking the natural shape of a cat’s tail.
The length of the tail can vary depending on the desired style of the amigurumi cat. Some crocheters prefer a long, elegant tail, while others may prefer a short, playful one. Regardless of the length, the tail should be stuffed with a small amount of fiberfill to give it shape and structure.
Shaping the Ears
The ears are one of the most delicate parts of the amigurumi cat, as they contribute to its cuteness and character. Ears are typically created as small, triangular pieces. The crochet pattern will specify how many stitches to increase and decrease in each round to create the pointed shape of the ears.
Once the ears are crocheted, they need to be sewn onto the head at the correct position. The ears should be placed symmetrically on either side of the head to ensure the cat looks balanced. After sewing the ears in place, the crocheter can adjust the shape by gently folding or shaping the tips to achieve the desired look.
Assembling the Cat and Adding Final Details
Once all the parts of the amigurumi cat are crocheted, the final step is to assemble the pieces and add the finishing touches. This step involves sewing the limbs, tail, and ears onto the body, as well as adding facial features like eyes, a nose, and a mouth. Additionally, any final shaping or adjustments to the cat’s form can be made at this stage.
Assembling the Body and Head
The first step in assembling the amigurumi cat is sewing the head onto the body. This step is crucial, as the head must be securely attached to ensure it stays in place. Using a yarn needle and matching yarn, the crocheter should carefully stitch around the neck area, securing the head to the body. This may take several rounds of stitching to ensure the head is firmly in place and positioned correctly.
Once the head is attached, the limbs and tail are sewn on. The limbs should be positioned to allow the cat to sit or stand as desired. The tail should be attached at the base of the back, making sure it is placed at the correct angle. The limbs should be sewn on symmetrically to create an evenly proportioned figure.
Adding Facial Features
The facial features of the amigurumi cat bring it to life. The eyes are usually made from safety eyes, which are small plastic eyes that are inserted into the head of the cat. These eyes are available in different sizes and colors, allowing the creator to customize the look of the cat.
To create the nose and mouth, many crocheters prefer to use embroidery techniques. A small, triangular nose can be stitched in place using black or pink thread. The mouth is typically embroidered below the nose, with a simple, curved line to form a smile.
Final Adjustments and Shaping
After assembling the cat, the final step is to make any necessary adjustments. This might include trimming any loose ends of yarn, reshaping the body or head for symmetry, or adding any additional details like whiskers or decorative elements. The crochet project should be inspected for any loose stitches or gaps, ensuring the finished amigurumi cat is neat and well-crafted.
With the final touches in place, the amigurumi cat is now complete. This charming crochet project is ready to be displayed or gifted, and the creator can take pride in having brought their adorable feline creation to life.
Conclusion: Celebrating Your Amigurumi Creation
Creating an amigurumi cat is a rewarding process that allows crocheters to express their creativity while honing their skills. From selecting the perfect yarn to crocheting each detail, the journey of making an amigurumi cat is both challenging and fulfilling. The final product is a charming and unique piece that can serve as a keepsake, gift, or decorative item.
By following a step-by-step approach, anyone can learn to make an amigurumi cat, regardless of their experience level. The key is patience, attention to detail, and a love for the craft. Whether it’s the first attempt or the hundredth, each amigurumi cat is a reflection of the creator’s talent and passion for the art of crochet.