Step-by-Step Guide to Making Your Own Pink Cat Ears for Any Occasion
Crafting Pink Cat Ears
Creating pink cat ears is an enjoyable and versatile craft suitable for costume parties, themed events, cosplay, or simply as a playful accessory. The charm of handmade pink cat ears lies in their ability to express individuality while also being a fun and creative outlet. This guide explores the materials, techniques, and steps required to craft perfect pink cat ears for any occasion.
The allure of cat ears as an accessory has grown over the years, becoming a staple in fashion, cosplay, and even casual wear. Pink, as a color, adds a soft and whimsical touch to the design, making it ideal for a wide range of events. Whether you are a novice at crafting or someone with experience, making your own cat ears provides an opportunity to showcase your personal style. It is a craft that can be as simple or elaborate as you desire.
Understanding the purpose of the pink cat ears is the first step to designing them. Are they meant for a child’s birthday party? A cosplay convention? Or perhaps a unique addition to an outfit? The purpose will influence the choice of materials and level of detail you incorporate. For example, lightweight materials might be more suitable for a child, while a more intricate design might be preferred for a cosplay event.
This introductory section will lay the foundation for your journey into creating pink cat ears. From gathering materials to understanding the basic structure, you will be equipped with the knowledge to proceed with confidence. By the end of this guide, you will have a beautiful set of handmade pink cat ears to proudly display or gift to someone special.
Selecting and Preparing Materials
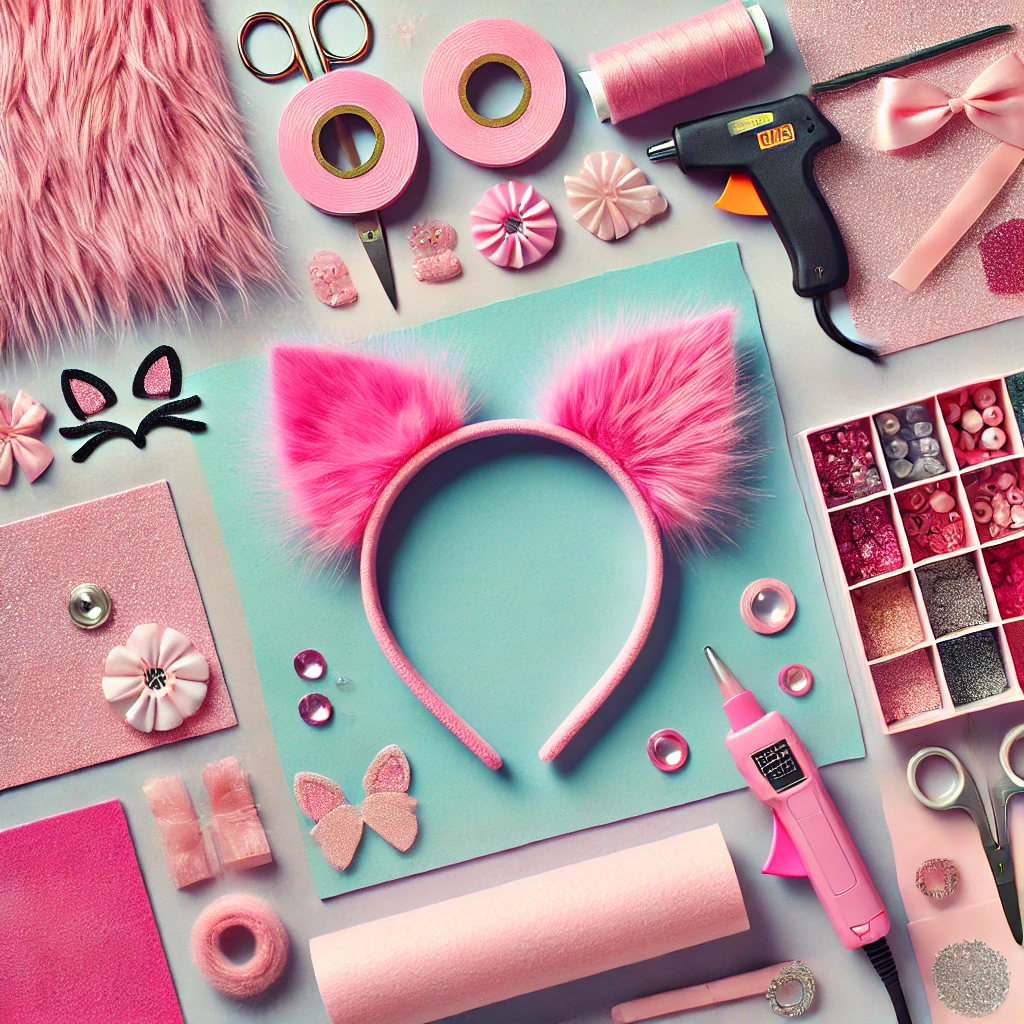
The first step in crafting pink cat ears is selecting the appropriate materials. This choice will impact not only the appearance of the ears but also their durability and comfort. Popular materials include felt, fabric, faux fur, and even lightweight foam. Each has its unique qualities, and understanding their properties will help you make an informed decision.
Felt is a common choice due to its availability, affordability, and ease of use. It holds its shape well and is simple to cut into desired forms. Faux fur, on the other hand, adds a luxurious texture that mimics the appearance of real fur. While it is slightly more challenging to work with, the end result is often worth the effort. Lightweight foam offers a more structured look and is ideal for creating dramatic, oversized ears. Fabric, such as cotton or velvet, can be layered and stitched for a refined finish.
Choosing the right shade of pink is another important consideration. Soft pastel pinks evoke a sense of delicacy, while bright or neon pinks add a bold, playful element. It’s helpful to test swatches of fabric or materials under different lighting conditions to ensure the color aligns with your vision.
Once materials are chosen, preparation is key. Start by washing and ironing fabrics if necessary to remove creases or dirt. If using faux fur, gently brush it to ensure it lies smoothly. Lightweight foam or felt may need to be measured and marked with guidelines to simplify the cutting process.
Adhesives also play a significant role in the crafting process. Hot glue guns are a popular choice for their strong bond and quick drying time, but fabric glue or tacky glue can also be used for certain materials. Sewing tools such as needles, thread, and scissors are indispensable for more intricate designs.
In addition to these primary materials, embellishments like ribbons, sequins, or tiny bows can be added to elevate the design. The preparation phase also includes gathering any necessary templates or patterns. These guides can simplify the cutting and shaping process, ensuring symmetry and uniformity in the final product.
Assembling and Shaping the Ears
The process of assembling and shaping the cat ears is where the project truly comes to life. Begin by cutting the chosen material into triangular shapes that resemble cat ears. Depending on the desired size and style, these triangles can be adjusted to fit the occasion. For instance, larger ears might be suitable for a dramatic cosplay, while smaller, more delicate ears work well for casual or child-friendly designs.
For a structured look, layering materials is essential. Start with a sturdy base material such as lightweight foam or thick felt. This layer provides the necessary support and ensures the ears maintain their shape. On top of this base, add the primary material, which could be fabric or faux fur, to achieve the desired aesthetic. Secure these layers with glue or by stitching them together, ensuring the edges are neatly aligned.
Shaping the ears involves gently bending or folding the materials to create a natural curve. This curve mimics the anatomy of real cat ears, adding realism to the design. To achieve this, consider adding a wire frame inside the ears. Thin, flexible wires can be shaped and sewn into the base material, allowing the ears to be positioned as desired. This method also makes the ears adjustable, adding versatility to the final product.
Attaching the ears to a headband or hair clips is the next step. A plain, sturdy headband provides a secure base for the ears and ensures they stay in place during use. Hair clips, on the other hand, offer a more discreet option and are ideal for minimalist designs. To attach the ears, apply glue to the bottom edge of each ear and press it firmly onto the headband or clip. Allow sufficient drying time before proceeding to the next step.
Decorative elements can now be added to enhance the appearance of the ears. Small bows, rhinestones, or lace trims can be glued or sewn onto the ears to create a personalized touch. For an extra whimsical effect, consider adding a touch of glitter or metallic paint along the edges. These details elevate the design, making the ears suitable for more formal occasions or themed events.
Final Touches and Conclusion
The final phase of crafting pink cat ears involves refining the design and ensuring the finished product meets your expectations. Inspect the ears for any loose threads, uneven edges, or areas where adhesive might be visible. Trim excess material and tidy up the edges to create a polished look.
If you’ve added embellishments, check that they are securely attached. Tug gently on bows, rhinestones, or other decorations to ensure they won’t come loose during use. This step is particularly important if the ears will be worn by children or in active settings.
Testing the fit and comfort of the ears is also crucial. If using a headband, ensure it sits comfortably without pinching or causing discomfort. For hair clips, check that they hold the ears securely in place without slipping. Adjustments can be made by adding padding or altering the position of the attachment points.
Photographing your finished pink cat ears is a great way to document your work and share it with others. Experiment with different lighting and angles to showcase the details and craftsmanship. This step also allows you to evaluate the design from a different perspective and make any final tweaks.
The conclusion of this guide emphasizes the joy and satisfaction of creating your own pink cat ears. Not only do you have a unique accessory, but you’ve also gained valuable crafting skills and a deeper appreciation for handmade items. Whether worn at a special event or given as a thoughtful gift, these pink cat ears are a testament to creativity and dedication.
In the end, the process of crafting is as rewarding as the finished product. By following these steps, anyone can create a beautiful and functional pair of pink cat ears, tailored to their unique preferences and style. The possibilities are endless, limited only by imagination and the willingness to experiment.